
Back in March of this year I purchased an Enzo Trapper Knife kit from Curtis at Omaha Knife. This was a straight forward knife kit that turned out exceptionally well. The knife purchased was in O1 steel with Curly Birch handles. While I never got around to posting pictures of the completed project, the Blue Ridge Survival Blog header has had a picture of this very knife. I’ve been so impressed by this knife, I ordered and received my second Enzo Trapper earlier this week.
Specifications:
 Blade: Full tang O1 tool steel with Scandinavian Grind– The Trapper is also available at Omaha Knife in D2 (both Scandi and Flat Grind), and 12c27 Stainless. I have no doubt that D2 and 12c27 are excellent steels, especially since the Enzo brand represents high quality. I purchased the O1 because I find it works well for me; I like the carbon steel and in terms of quality, ease of sharpening and edge retention the O1 steel has performed flawlessly. From the factory this blade arrives hair popping sharp. This type of grind lends itself especially well to bushcrafting tasks and is one of the simplest edges to sharpen.
 |
| The Trapper in Curly Birch was the first acquisition. |
Overall Length: 8 1/4” from tip to heel. Blade length is 3 3/4". Blade thickness is 1/8”.
Handle Material/Scales: Burgundy Linen Micarta
Sheath: The leather sheath is excellent and of very high quality. The leather used to form the sheath is thick and comes with a dangler.
Putting it all together...
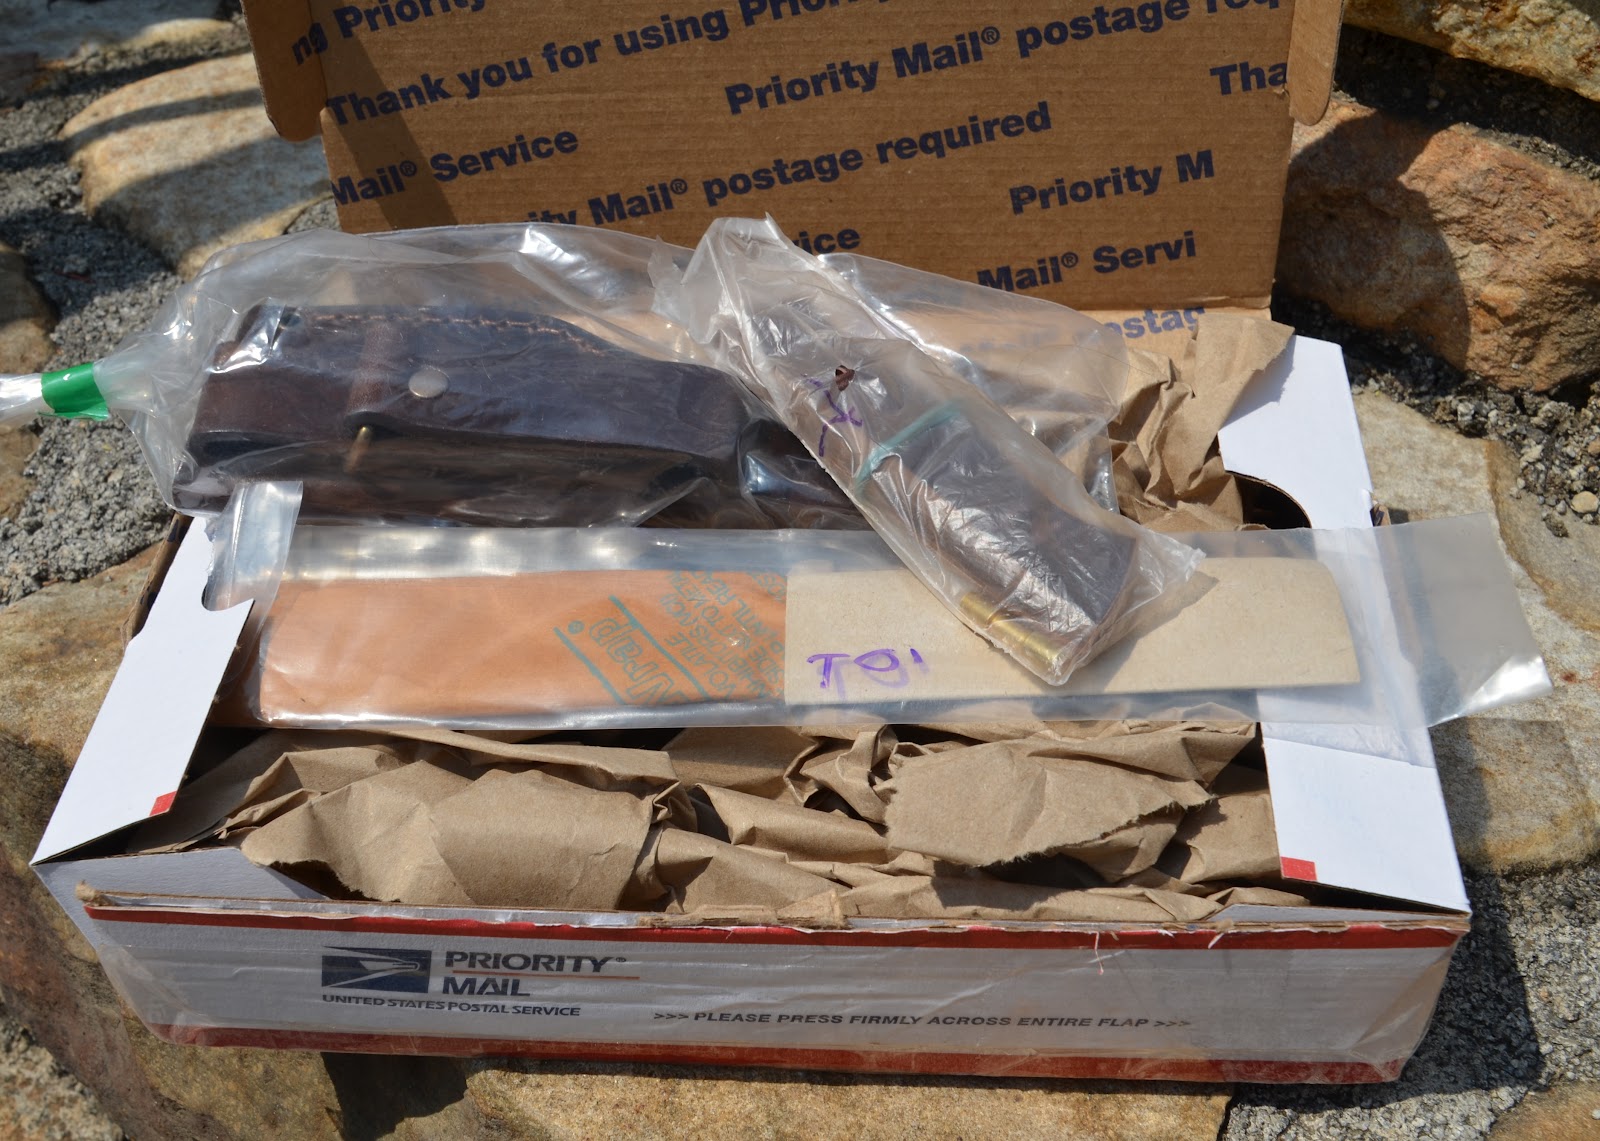
 As I said, this is a straight forward kit. The kit was packed very well from Omaha Knife with the contents having the blade, handle material, corby brass bolts and a leather sheath. The customer service from Omaha Knife is excellent. I ordered the knife on Sunday and received it Wednesday. I consider that very fast since the order could not get processed until Monday morning at the earliest.
 The scales that I
 ordered came pre-formed and pre-drilled, so the handle material is simply epoxied to the handle end of the blade, bolted and clamped. The epoxy that I used is T-88 Structural Epoxy and it has a cure time of about 24 hours. The next day after the epoxy cured, a Dremel tool was used to remove as much of the excess length from the brass bolts as possible. I then used a small file to finish the brass pins flush with the handle. The Dremel was also used to remove the excess handle material so that it's flush with the tang; I then followed up with 400 grit sandpaper on the handle material to smooth everything and round sharp corners. Boiled Linseed Oil was then put on the handle and allowed to dry overnight. Even with the Micarta handles, the Boiled Linseed Oil worked well. Since this knife has the Micarta handle, I intend for this to be my primary workhorse. I know all of this seems over simplified, but it really is a very straight forward knife kit. I’ve been very pleased by the overall results and it’s satisfying to have built such a high quality knife. This is a great weekend project that won’t take all weekend, so I highly recommend it. ~Keep it Sharp.
No comments:
Post a Comment