
There’s been a lot of discussion and speculation on the
quality of inexpensive knives coming out of China. Notice that I used the word inexpensive and
not cheap; because after doing a fair
bit of reading and research on the build quality, fit and finish of the
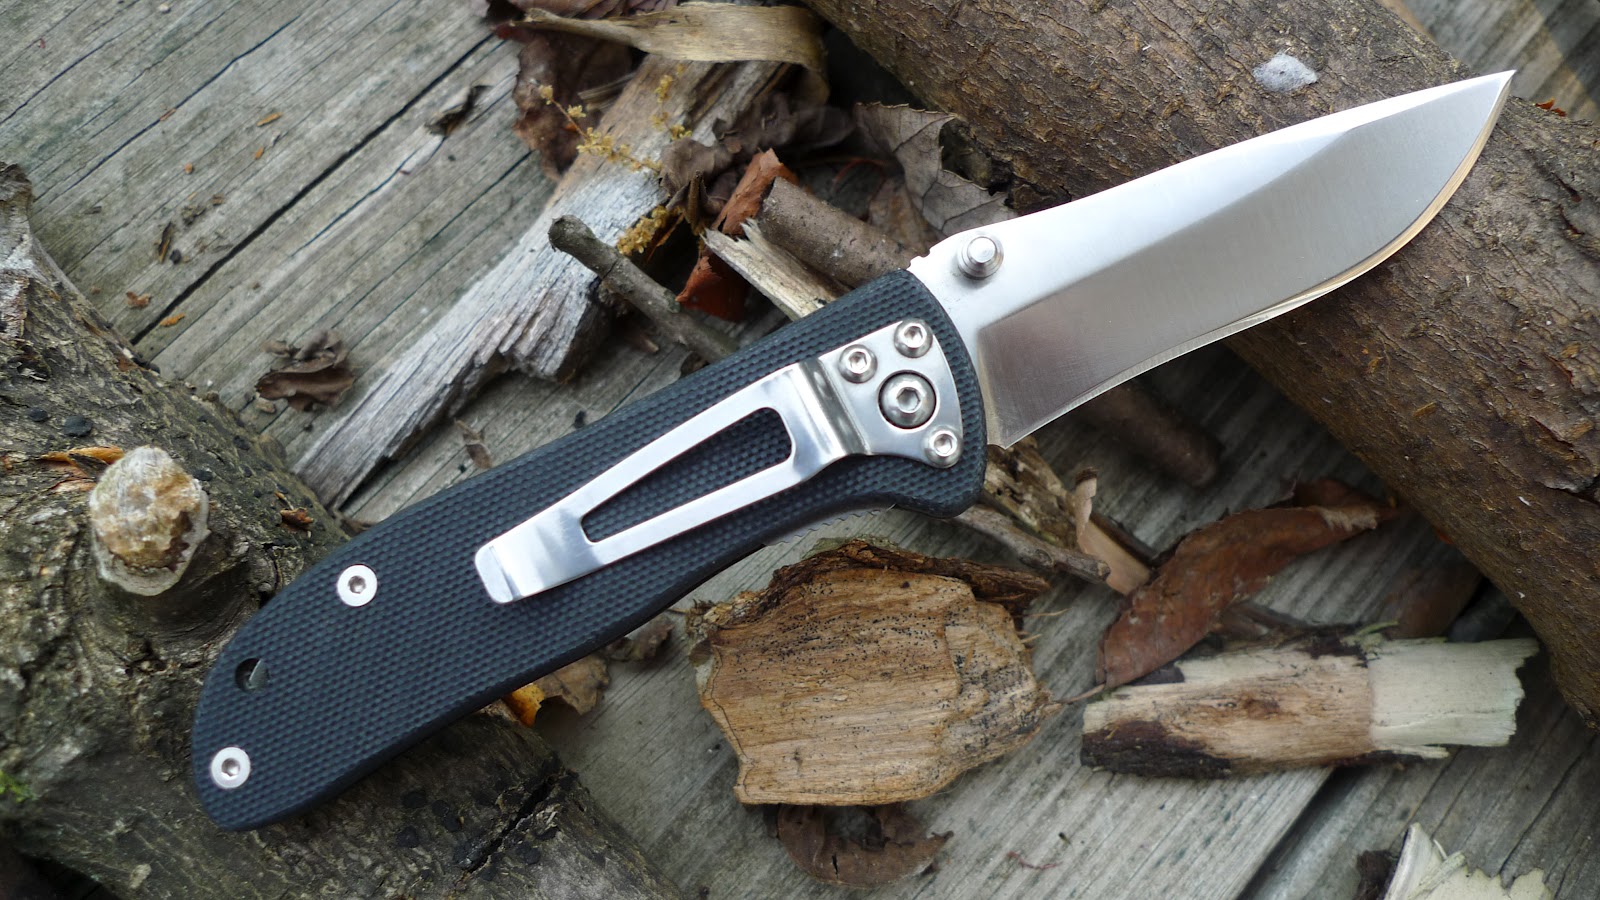
Sanrenmu brand of knives, I finally decided to purchase one a few weeks ago. One major positive on these knives, is that
they are reported to be manufactured in the same plant with the Spyderco
Tenacious, CRKT Drifter and some models of Benchmade. Speculation or not, I have been very much
impressed with the overall quality and the attention to detail of the Sanrenmu
707 which I purchased from a USA Ebay Seller. Even more impressive is the
sticker price at around $11.00 shipped. By the way, the Sanrenmu looks identical to
the CRKT Drifter which retails at around $23.00 plus shipping. Any of us would be hard pressed to find a
knife of this quality at even double the price.
I own the excellent and affordable Ken Onion designed Kershaw Vapor and
the Sanrenmu 707 easily compares in terms of workmanship, ease of sharpening
and ease of deployment. Here are the specs:
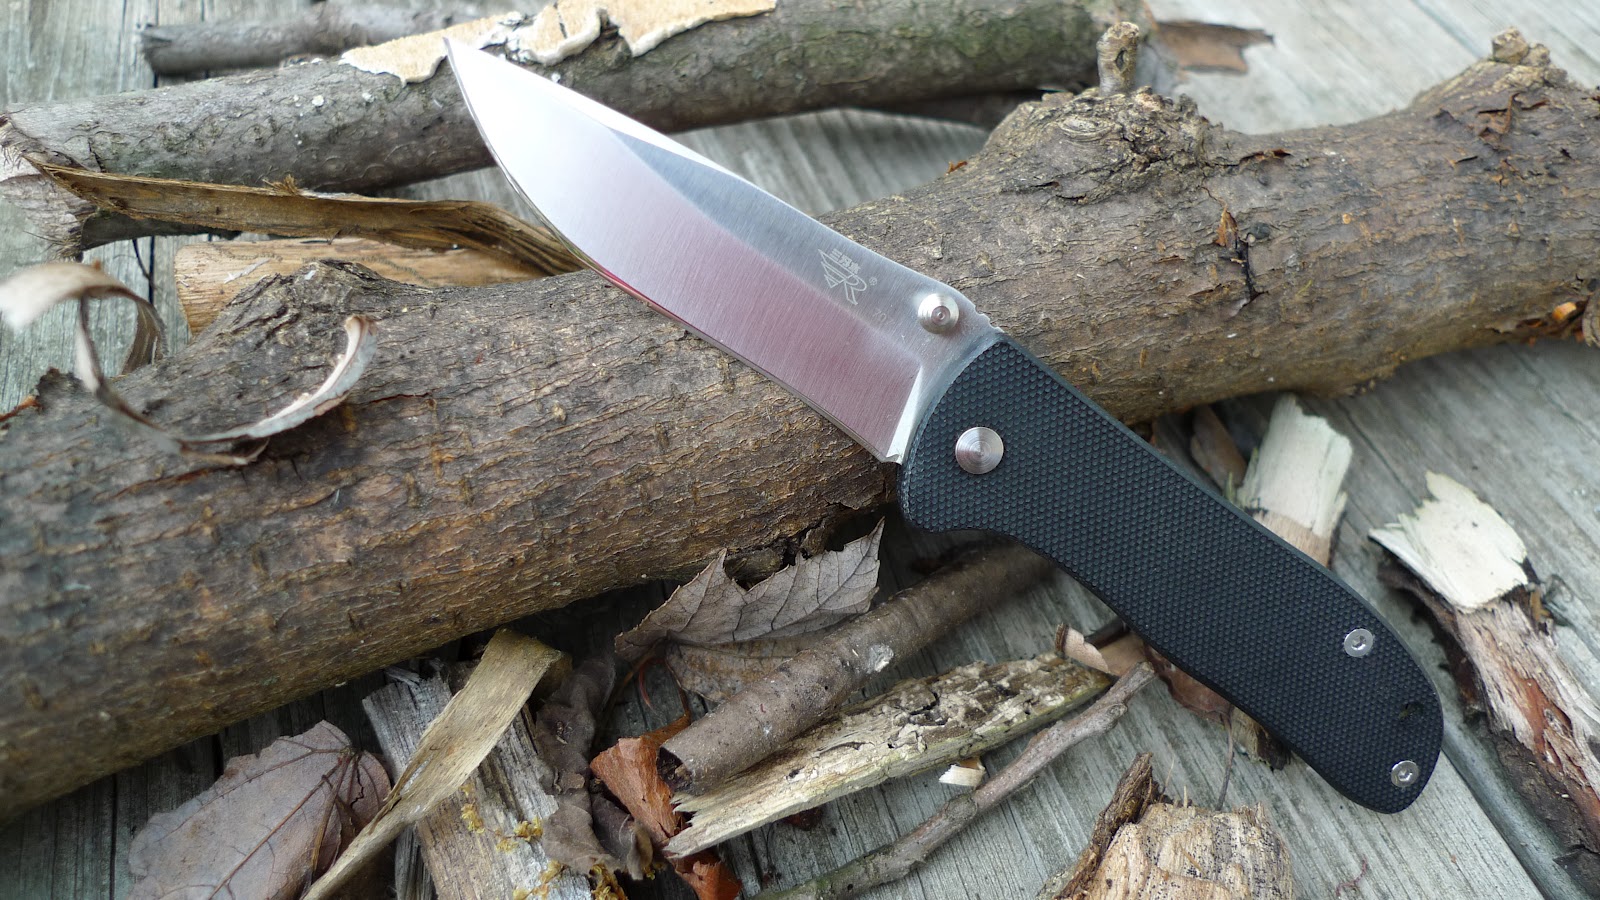 Blade-8cr13MOV 57 HRC
G10 Handles
Lanyard Hole
Razor Sharp
Thumb Studs Opening
Stainless Steel Pocket Clip
Open- 6 1/2"
Closed-3 1/2"
Weight- 2 3/8ozs.
 The blade locks firmly in the deployed position; and, there is no noticeable blade play. The edge came super sharp from the factory. However, after re-profiling using a Japanese
waterstone (1000/6000 grit) and using a leather strop, I was able to achieve a convex edge on the blade; I prefer the convex edge for sharpness and edge retention. I was able to get this particular blade sharp enough to shave facial
hair. Now I’m not hard on my knives,
but, to see how good the steel and edge retention would be, I spent some time
making feather sticks and just doing some general whittling. The Sanrenmu
performed these tasks effortlessly, and it was really quite enjoyable. The blade retained a reasonable amount of
sharpness still able to slice through paper without hesitation. After a couple of strops on the leather
paddle, I was able to get that hair shaving sharpness again. I’ve been carrying this knife as my EDC for
about a month now, and I am confident that it will fulfill any needed task. In terms of quality workmanship,
style and price this knife is highly recommended. ~Keep it Sharp.
The blade locks firmly in the deployed position; and, there is no noticeable blade play. The edge came super sharp from the factory. However, after re-profiling using a Japanese
waterstone (1000/6000 grit) and using a leather strop, I was able to achieve a convex edge on the blade; I prefer the convex edge for sharpness and edge retention. I was able to get this particular blade sharp enough to shave facial
hair. Now I’m not hard on my knives,
but, to see how good the steel and edge retention would be, I spent some time
making feather sticks and just doing some general whittling. The Sanrenmu
performed these tasks effortlessly, and it was really quite enjoyable. The blade retained a reasonable amount of
sharpness still able to slice through paper without hesitation. After a couple of strops on the leather
paddle, I was able to get that hair shaving sharpness again. I’ve been carrying this knife as my EDC for
about a month now, and I am confident that it will fulfill any needed task. In terms of quality workmanship,
style and price this knife is highly recommended. ~Keep it Sharp.

