Urban and Outdoor Preparation, Product Reviews and General Discussions about Living near and Enjoying the Blue Ridge Mountains of Virginia.

Monday, August 19, 2013

Drago Tracker Backpack Mini Review

I just purchased the Drago Tracker Backpack after retiring a North Face Yavapai that served me well for more than 12 years.  I was initially going to stick with the new version of the Yavapai, but the Drago Tracker seemed to be more versatile, especially as an extended Day Pack.  With the Molle webbing, I like having the ability to expand the pack beyond the 4 main compartments.  In the photo you can see that I have added two H2O pouches and a 6.6 pouch  (with blue carabiners) which I was able to get on sale from 5.11 Tactical.  This pack is hydration pack compatible, so is able to carry plenty of water now.  The OD Green Drago pack and the OD Green 5.11 pouches are a perfect match and the material are very similar.


The pack is made of 600 Denier polyester and appears to be well made.  I believe it will take a beating very well; and, that's important since I'd like this pack to last as long as the North Face.  On this particular outing, the pack was loaded with only 15lbs. of gear and was very comfortable to carry.  In fact, I was surprised how noticeably more comfortable it was compared to the North Face.  Due to the way this pack is made, there are ways to distribute the weight of gear and equipment evenly.  I believe that this bag has enough capacity with the way I have it currently configured, for it to easily be an overnight or 2 night pack.  Definitely with the number of attachment points, and even internal pouches, this is a versatile pack.  What I really like about the Drago Tracker Pack is that I can now stow all of my items systematically, so that each item can be stored in its own location.  I couldn't necessarily do that with the North Face.


Since it hasn't been thoroughly field tested at this point, I haven't decided for sure  if it's a favorite pack; but, it certainly has a lot of potential.  ~Keep it Sharp.

Saturday, June 8, 2013

Condor Bushlore Knife Review

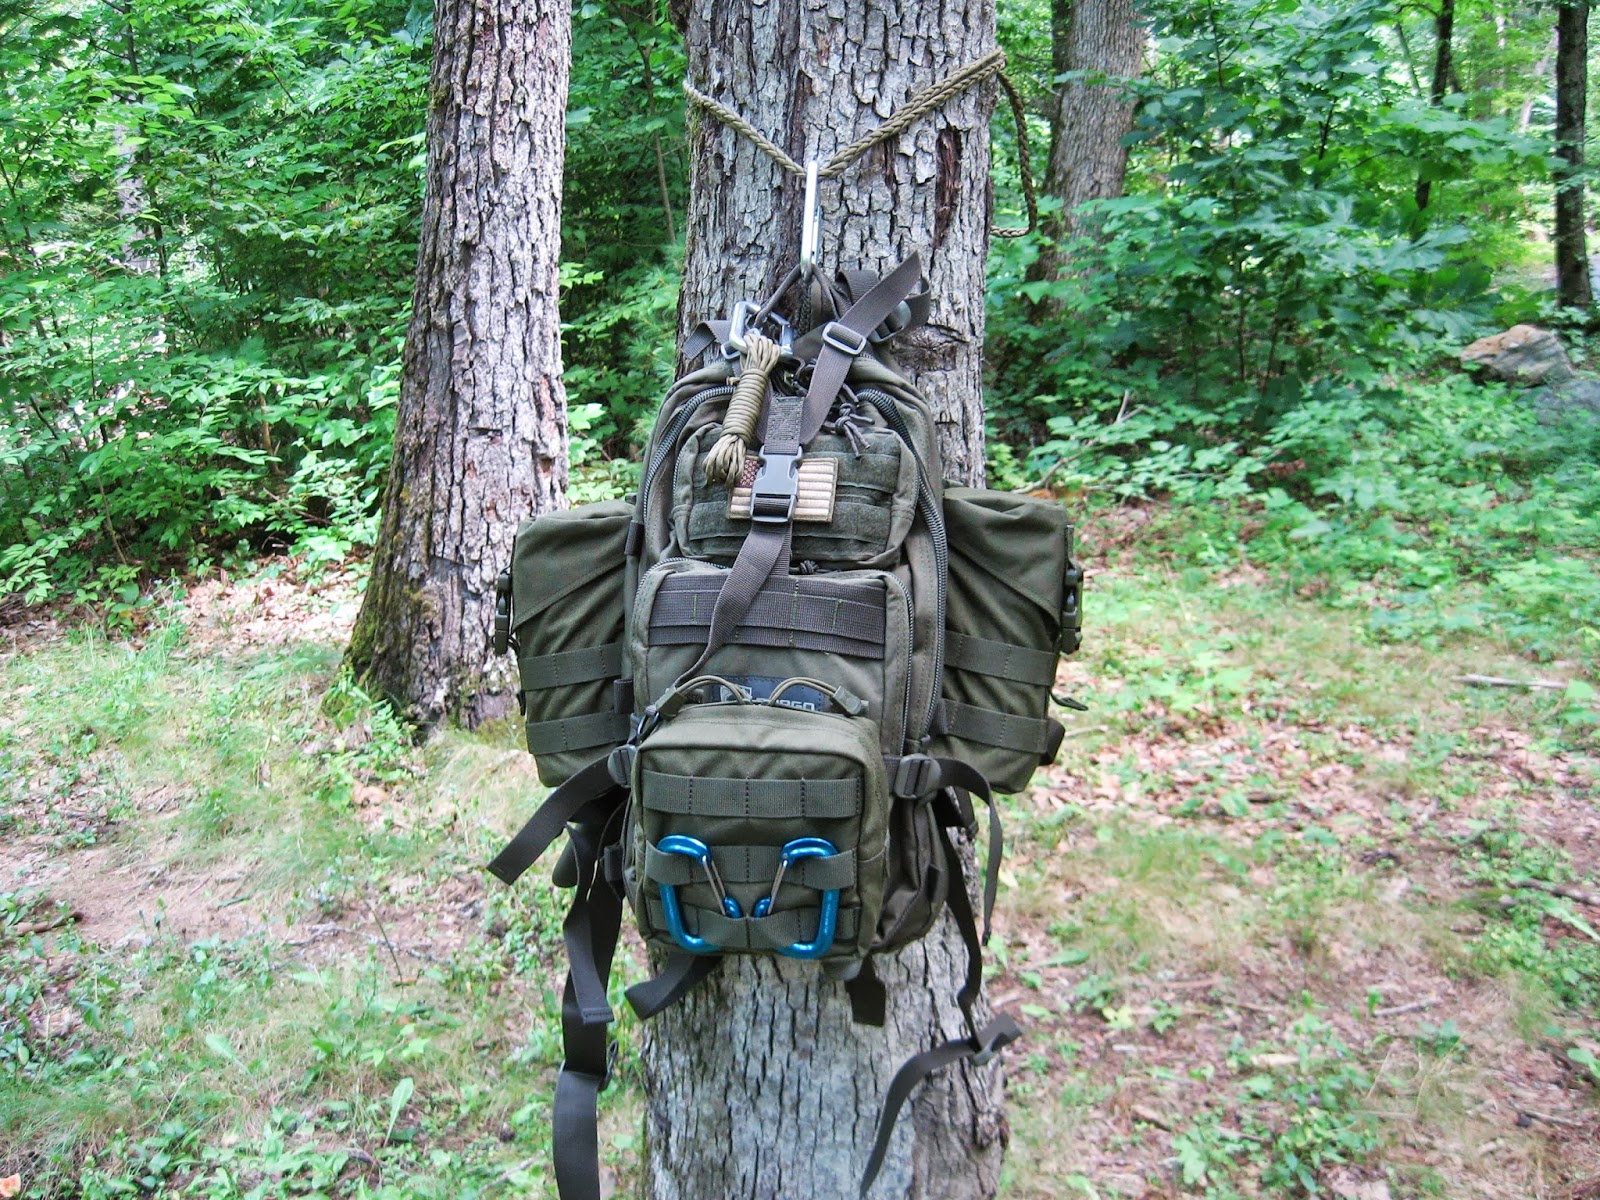
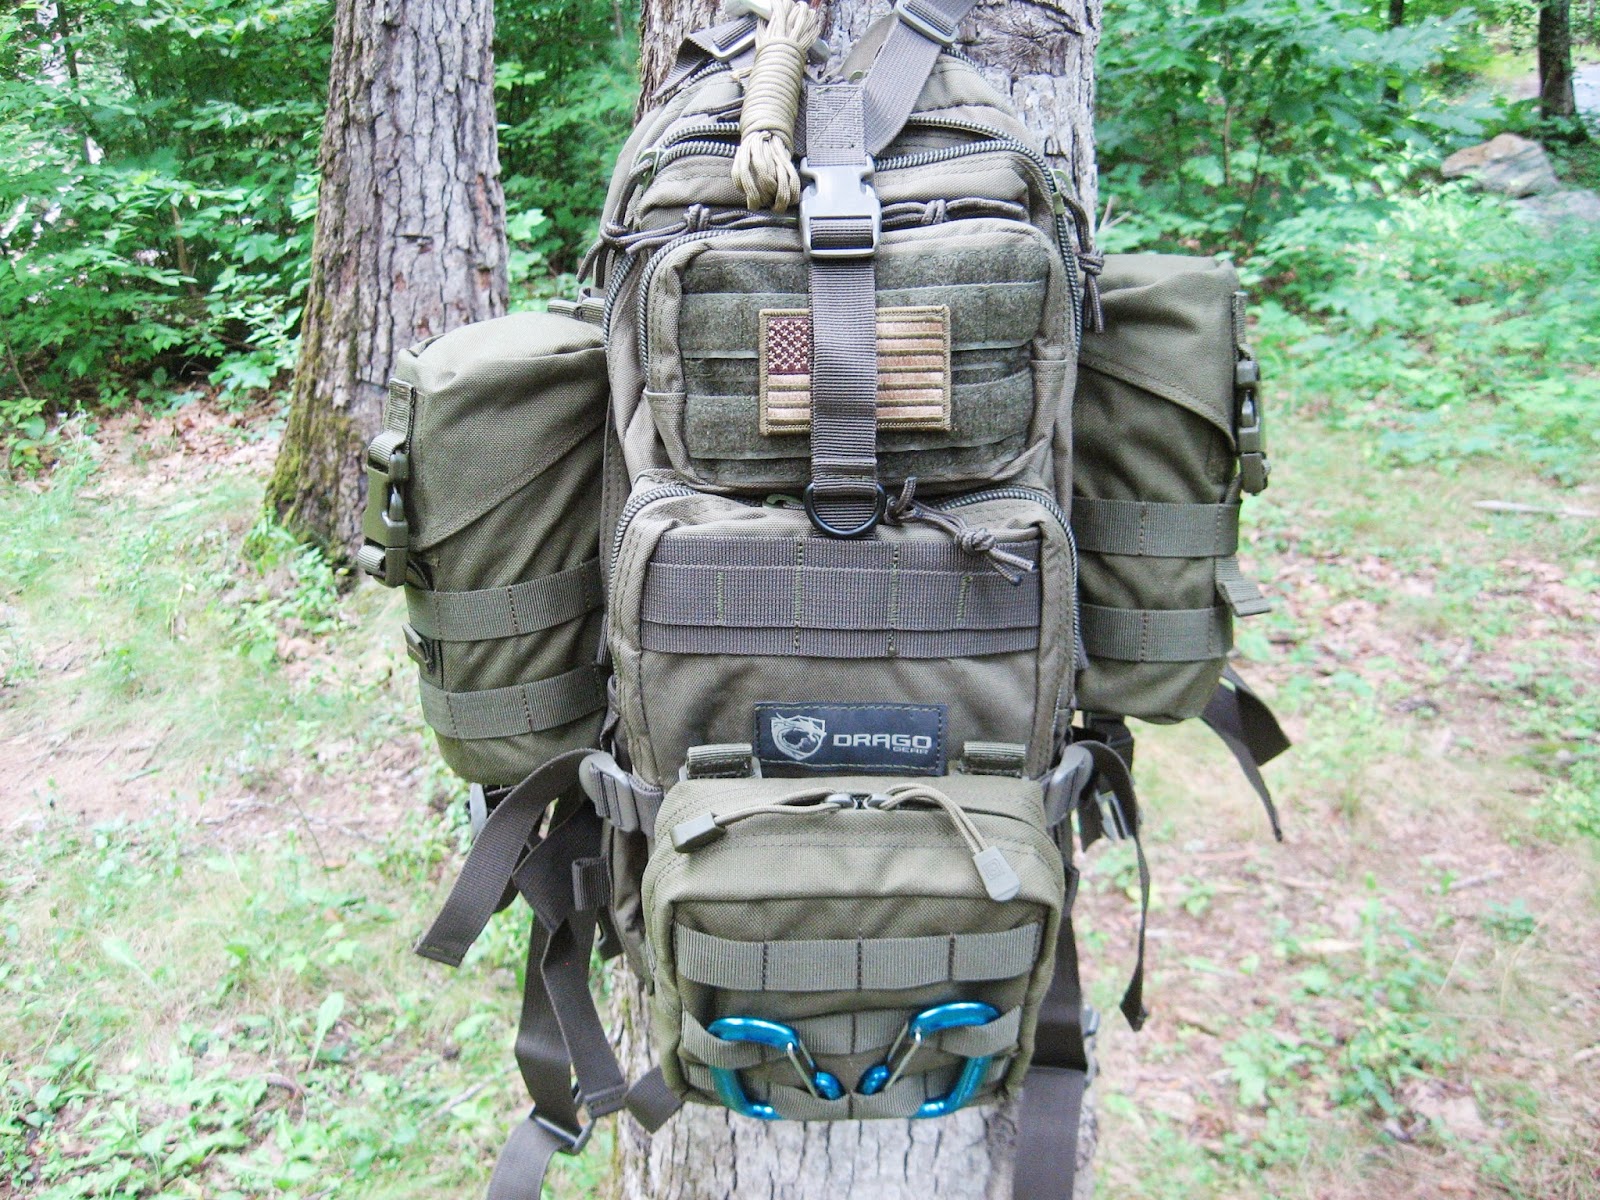
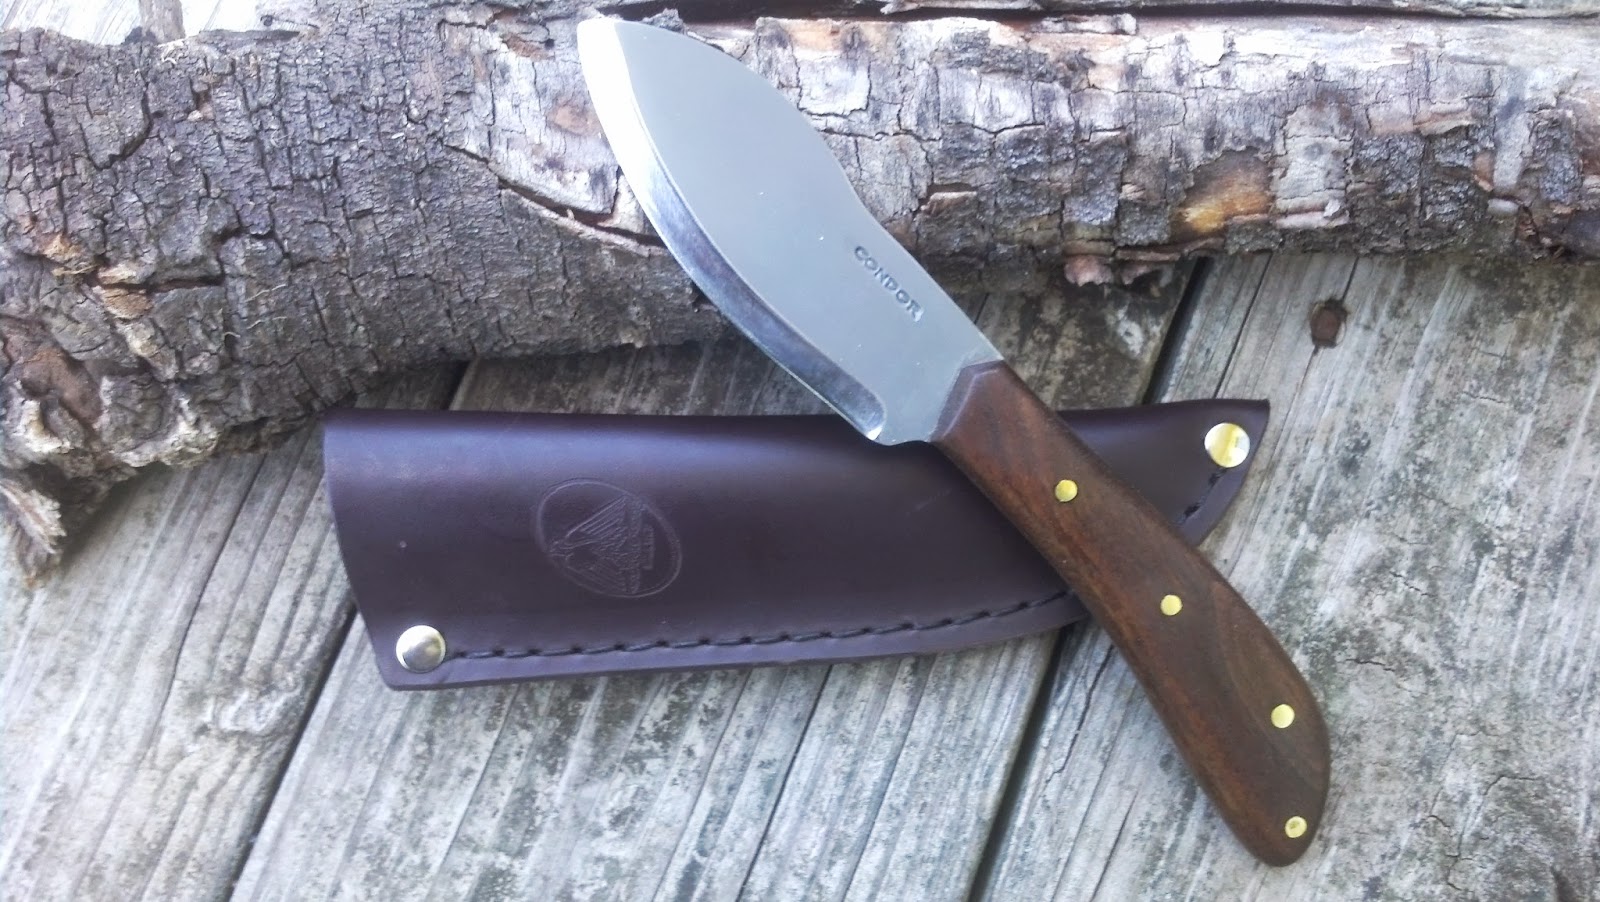
The Condor Bushlore Knife is one that I have carried in my pack for about two years now.  In fact, I ended up buying a second Bushlore from Ben at Baryonyxknife.com a few days ago...  more on this a little later.  The Bushlore is a knife that has been reviewed countless number of times, so I don't expect to add much to what has already been written.  However, I write this review to not only express my satisfaction and why I recommend this knife, but to also to describe how to avoid some of the pitfalls that accompany this blade. Whenever, I go out into the woods (even on a short day hike) I always carry my Enzo Trapper with Micarta scales on my belt, but the Condor Bushlore always accompanies me inside my pack.  This knife has proven, for me, to be a very versatile blade capable of a variety of tasks from batoning wood, prepping firewood (ie. making feather sticks), and for preparing foods.  The blade has the ability to get a super sharp edge and I have found with proper care and utilization the edge retention on this knife is excellent.  The more I use this knife the more I like it.  Here are it's basic specifications having been made in El Salvador:

Full Tang Construction
1075 High Carbon Steel Blade
4 5/16" Blade Length
1/8" Blade Thickness
Hardwood Handle-Walnut
9 5/16" Overall Length
Quality Leather Sheath

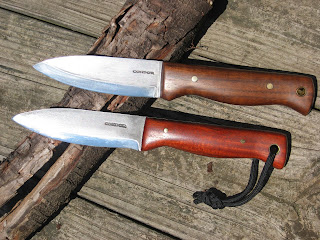
The thing that has caused me to be impressed with this knife is the cost to value ratio.  I would rate this knife to be an excellent value for what you receive in the box.  If you've done any amount of research on this knife you will have read that most folks consider the sheath to be of such high quality that it alone is worth the purchase of the knife.  I wouldn't call the Bushlore a beater knife, yet it has been designed to be a workhorse and to accept abuse (within reason). It's a knife that you don't have to be concerned about when your out in the woods.  While I'm definitely one to keep track of my gear in the woods, if my Condor Bushlore was somehow lost, I wouldn't be as concerned compared to losing a more expensive knife. I've had my Bushlore out in a pouring rain with little opportunity to keep it dry to avoid potentially rusting the blade, yet, this wasn't a concern for me since I paid about $30 for it at the time.  Even so, I found that the blade withstood the moisture pretty well and it has always cleaned up nicely.  From the pictures above you can tell that that there doesn't appear to be consistency in the color of the handle material.  The more rosewood colored handle was the first knife that I acquired.  Both handles were stripped, sanded and re-finished with multiple light coats of boiled linseed oil.  I read somewhere that when boiled linseed oil was used to finish gun stocks, that light coats of oil was put on the wood in the following manner:  1 coat everyday for a week; 1 coat every week for a month; 1 coat every month for a year; and, 1 coat every year for life.  The key to putting on boiled linseed oil is super thin coats and letting it dry between applications so that the coatings don't become gummy.  I've used boiled linseed oil on all of my wood handles and the results turn out very nice.  This is a knife that looks good; I hate to say it, but all of my knives have to have a high aesthetic value; it must perform well and look good.  The Bushlore definitely falls into this category.

Now, some of the things to be aware of...  When I purchased the Bushlore back in June 2011, the folks at Condor had made a change to the Bushlore design.  The knife previous to the current design was much thicker and the useable edge on the knife was shorter.  It seemed that there may have been some quality issues with making the transition on the knife.  While the heat treatment on the blade was acceptable, the knife edge was not ground properly so that the blade was not sharp along the edge closer to the handle. I spent a lot of time and energy getting the full edge to be acceptable.  This knife is now super crazy sharp, is easy to maintain and a joy to use.  While we are on the subject of the edge, the Bushlore does not have a true Scandi grind; rather, it has a secondary micro-edge.  It's important to recognize this in order to get the edge to it's sharpest potential.  The handle also came very rough, but that was easily solved by stripping and sanding.  The other thing that I find on the first knife compared to my newest Bushlore is that the tang extends a wee bit past the handle material.  While this doesn't impact the comfort or practical use of the knife, some folks may find this unacceptable.  I suppose when I first purchased the knife I didn't have very high expectations of the quality. The good news is that on the second knife I purchased (dark brown handle) was from Ben at BaryonyxKnife.com.  The advantage of doing this is that Ben inspects every knife that he sells to insure that you are receiving a knife that meets his expectation ultimately for your satisfaction.  You can also request what he calls a "Special Grade" Bushlore where the blade has been thinned and the factory edge is refined.  When I received my Bushlore, I was very impressed with the quality; it simply looked better and came much sharper than my first purchase; and it was sharp along the entire edge. After a few strokes on a leather strop this knife was super crazy sharp.
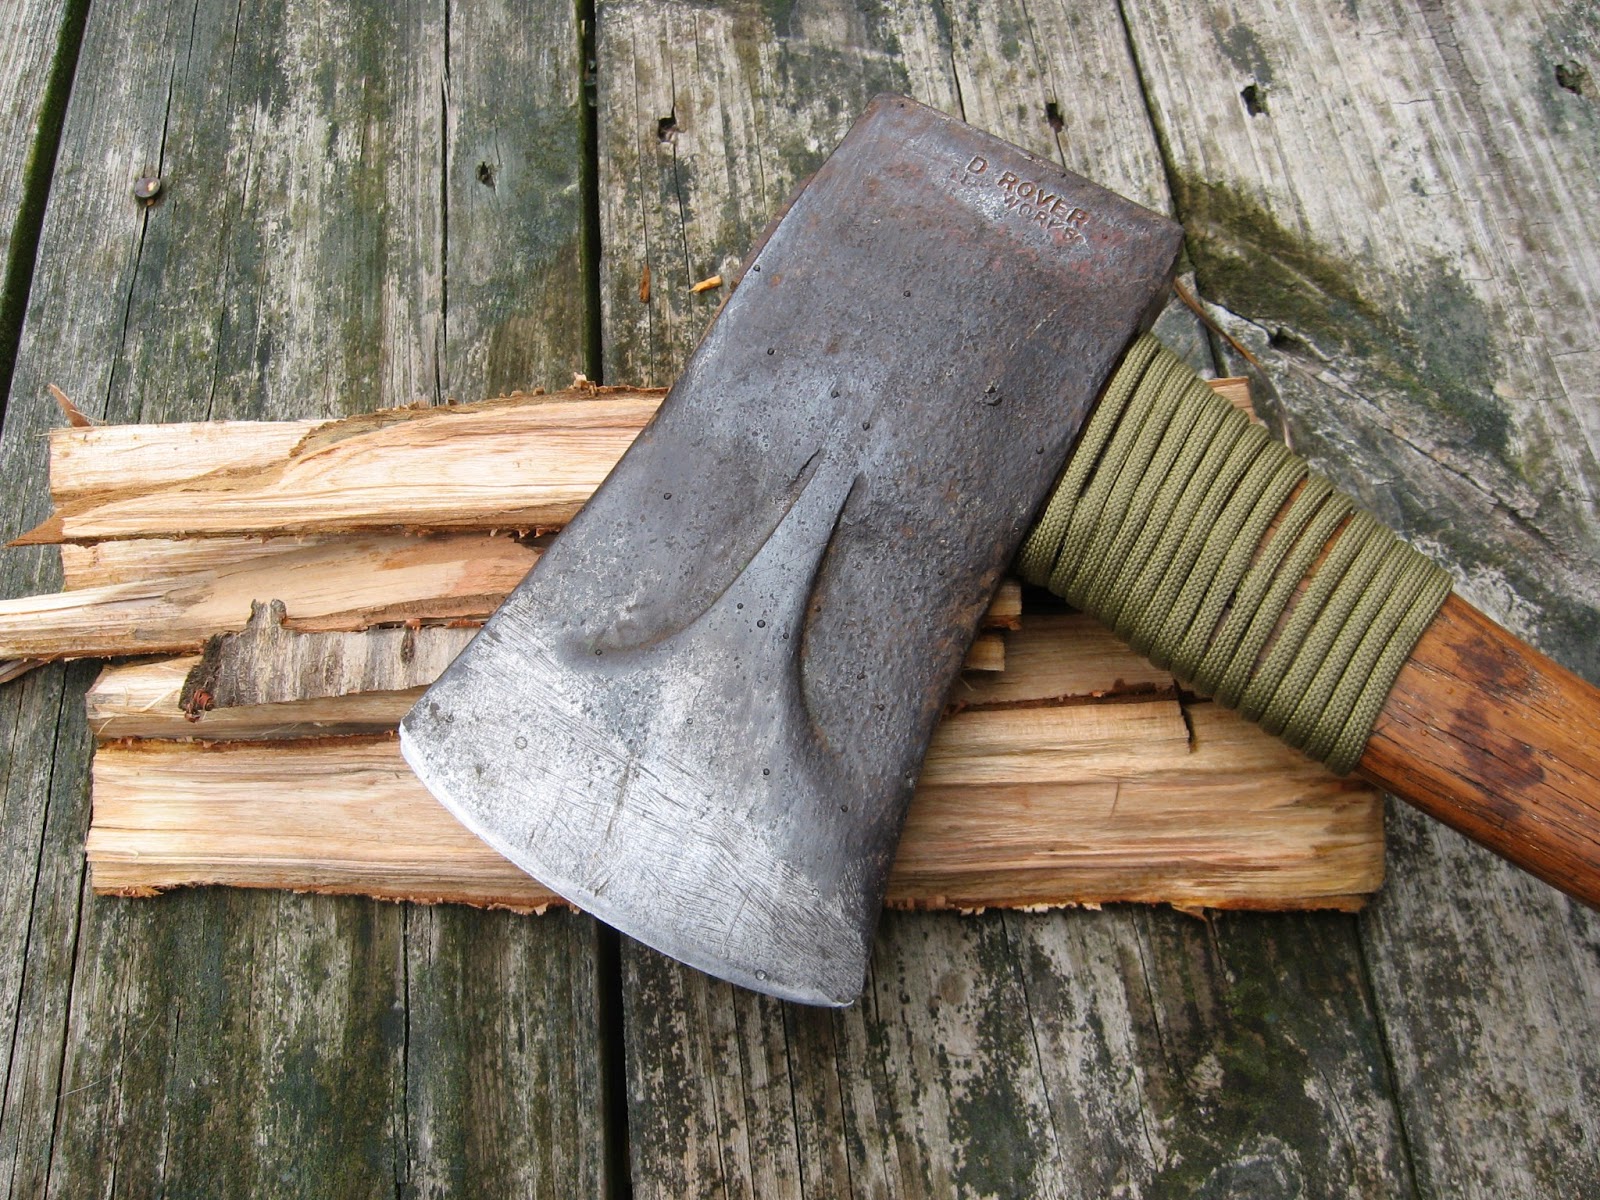
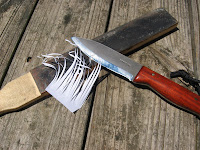
Sharp enough to make paper curl.  These
 cuts were made against the grain using
the old Bushlore.

The overall fit and finish of this knife was superb compared to the first Bushlore.  So there is a real advantage to purchasing a knife from someone who provides this type of service.  For only a little more than what you would purchase the knife from Amazon or another dealer, you get the peace of mind knowing that you're going to get a knife that has been looked at and will be ready for service.  By the way, I have no financial interest in the Baryonyx Knife Co.; my only interest is getting quality gear at a reasonable price and knowing where they can be found. So my bottom line is that the Condor Bushlore may be considered a budget bushcraft knife and may only be a Woodlore clone, however, it is not a budget blade.  There is genuine value and performance in this piece of equipment that will not disappoint even the most hardcore bushcraft or knife enthusiast. ~Keep it Sharp.

Friday, June 7, 2013

Kelly Works Small Axe

Every once in a while you run into a treasure that can't be passed up.  That was what happened to me today at a local antique store.  The hunt began after I had read on the Bushcraft USA forum of a guy who received an axe.  He basically entitled his post as a "Journey" in re-finishing an axe head.  Now, I already own a couple of axes, but there seemed to me some nostalgia in finding an old axe head or even and old axe that was not only serviceable, but, also had a story to tell.  So what I came across today was a small axe that had  "Red Rover" and "Kelly Works" stamped on the head.  The axe head also has a unique design called the Kelly Bevel on the head; and appears to be consistent with early model small axes.  I was able to find an old 1917 and 1925 hardware catalog on line; both displayed the Red Rover axe.  This axe was called a 'Boys" axe because of its more diminutive size.
My particular find measures out at 26" handle length and it would appear (based on the old catalogs) that the head weighs in at around 2.5 lbs.  This seems to make sense since the entire axe only weighs in at 3.5 lbs.  I was pleased to discover that the axe handle was still in serviceable condition.  There was just a bit of play in the head, but this was remedied in short order.  The axe head was in terrific condition and only required a slight bit of work on a course and fine stone to get the edge sharp.  So, while I had set out to find only an axe head with the intention of re-finishing the head and adding a new handle; instead, I found this little gem for a very reasonable price at $21.  Now imagine the possibilities of where and how this little axe has been swung if, indeed, it is more than 90 years old.  How many shelters did it build, how many trees felled and groves cleared.  Did it see military action overseas or did it stay home to help protect and serve?  I have no doubt it has a story to tell, and I hope more stories to come. Overall, I'm very happy with the new acquisition.  ~Keep it Sharp.

Saturday, May 25, 2013

Condor Nessmuk Knife Review and George Washington Sears


George Washington Sears who is also known by his pen name Nessmuk wrote a book in 1884, simply  titled Woodcraft.   This book is available for free in either .pdf or e-book format from a variety of sources including the Gutenberg Project.  The book itself is a short read which provides an interesting picture and perspective of this man’s view of life in the outdoors during the late 1800’s.  In many ways, the book reminds me of an 1884 version of YouTube in book form.  Nessmuk writes to chronicle some of his musings of wilderness outings and pokes fun of those who are less experienced than he.  At the same time, however, he provides information and reviews on important matters of woodcraft including details on the gear and equipment he carries, the appropriate types of shelter, how to build a campfire and how meals are to be prepared.  It appears that Nessmuk spent much of his adult life enjoying the outdoors, honing his craft and building upon his knowledge and experience.  Because of this, many consider Nessmuk the father of bushcrafting.  The book is an interesting read, and because it has some valuable information and is somewhat entertaining (and humorous), I would certainly recommend it. 

In tribute to the man Nessmuk and his book, I purchased the Condor Nessmuk.  The Nessmuk knife is a copy of the skinning knife which George W. Sears carried.  It has an odd shape that is specifically designed for skinning animals, however, I have found that the design is equally capable of being used for light bushcrafting and camping tasks.  I purchased this particular knife through Amazon for a very reasonable price.  The Condor brand of knives has a reasonably good reputation although I have read and experienced that their quality control is suspect, at times.  Initially, I was a bit disappointed with the quality of the knife as I received it.  The handle material which appears to be walnut was uneven and the finish was rough.  The blade was not very sharp, however, I was glad that the edge of the blade came close to the handle.  Despite
its initial shortcomings, this knife had tremendous potential.  After a couple hours of work to get the handle smooth and honing the blade razor sharp on my Japanese waterstones, my new Nessmuk knife has become a very serviceable tool.  The 1075 carbon steel blade is easy to sharpen and holds an edge reasonably well.  I also applied several coats of boiled linseed oil on the walnut handle.  Overall, I am very pleased with the results, and quite frankly enjoyed the time I spent getting the knife to its potential.  There is no doubt this knife makes a terrific skinner; but, it is also a great camp knife for food preparation and for light processing of wood for fires.  I have no hesitation in recommending this blade and I plan to carry this knife with me in my pack.  For those who may be interested in purchasing this knife, I would recommend you looking at BaryonyxKnife.com; for a little more than what I paid, you will receive a knife that has been inspected and have an opportunity to choose their special grade option.   By the way, the sheath that is supplied is excellent and compliments the knife very well.  The Condor Nessmuk, a very serviceable knife in tribute to a man and his words.  ~Keep it Sharp.

Saturday, December 1, 2012

Sanrenmu 710 - Limited Quantities For Sale

**Knives are No Longer Available for Sale**


Sanrenmu 710 in Black and Silver

Back in June of this year I did a review of the Sanrenmu 710 folding knife.  You can read the review here: Sanrenmu 710-The Perfect Pocket EDC.  I continue to carry this knife on a regular basis because it is such an excellent knife; I'm confident that you too will find that it is the Perfect Pocket EDC.  I have been so pleased by this knife that I recently acquired 22 brand new Sanrenmu 710 knives; 11 each in Black and Silver.  I know that you can very easily find a cheaper price from other sources, however, you will most likely have to wait several weeks for your shipment to arrive.  But...  If you want one now, I have these knives available for $14.99 including immediate free shipping (USA Domestic only).  So why wait?  The price isn't unreasonable, the gift giving season is pressing upon us and if you order now you'll have the knife in just a few days.  These would make a great gift, stocking stuffer or personal purchase. Supplies are very limited, so don't miss out on this opportunity! I expect that these will go fast so send me a comment with your email address, full mailing address, and which color you want and the quantity so that I can verify the inventory.  I'll then send you a PayPal Invoice for payment.  After all of the knives have sold, I'll post an update.  ~Keep it Sharp.

Sunday, November 25, 2012

Straight Razor Shaving with a 3-Blade Disposable?

Is it possible to get a straight razor shave from a disposable triple-blade razor?  While the experience is definitely not the same; for, after all, there is a sense of manliness, nobleness and nostalgia associated with shaving with a straight razor; however, it is possible to replicate a pseudo-experience.  Now, I personally own several vintage straight razors which have been honed with a precision edge and each of these razors give the classic baby face closeness; so, don't misunderstand me...  I'm not saying that shaving with a disposable provides the same pleasure and experience.  Even so, I believe I have found a way to provide the same, consistent "close as a straight razor-like" shave with a disposable razor.  Especially when time and convenience is necessary, this technique is a winner.  And, there is a bonus from this setup, but first...

Here's the recipe for success:

Gillette Mach 3 (Sensitive) Disposable Razor
Shaving Brush
Shaving Soap
Soap Mug
Cotton Webbed Guitar Strap

The real secret and success to this setup is simply stropping the disposable razor with the cotton webbed guitar strap.  By stropping the razor 20-25 times before shaving, I have been assured a very close comfortable shave and dare I say, "as close as a straight razor-like shave".  So, here's the bonus...  I've been stropping and shaving with the same disposable razor since January 1, 2012.  With more than 10 months of using this technique, I am very comfortable and confident in recommending this method of shaving.  I purchased a 3 pack of the the Gillette Mach 3s for under $7 and having only used one razor, so far, I would consider this a real bargain.  Plus, there's no indication at this point that this same razor is anywhere near the end of its useful life.  By the way, this technique even works great for reviving razors previously used on your wife's legs.  So give it a try and let me know what you think.  ~Keep it Sharp.

Saturday, September 15, 2012

McAfee's Knob and DIY Tarp Project

I had been planning an overnight camp trip for a couple of weeks and was finally able to make it happen this weekend.  My goal was to try out a new homemade plastic tarp, sharpen up some bushcrafting skills and techniques; and most importantly, spend some time with one of my boys. The outing took place near McAfee's Knob which is located near Roanoke, Virginia.  The hike is about 8 miles round-trip but worth the effort once you get to the Knob; revealing one of the finest views in Virginia.

Having seen this DIY tarp on a YouTube video a few months ago, I was convinced that this was a project that had the potential of being very cost effective and easy to pack.  Completing the project was really quite simple and can be completed in less than two hours.  The material list in putting this project together is inexpensive and includes the following items:
  1. Husky 9 X 12 Plastic Drop Cloth (2mil) from Home Depot ($2.98)
  2. Duct Tape-40yards from Home Depot ($4.89)
So, there you have it...  for under $8, I was able to make  a reasonably lightweight and reliable homemade tarp that provides for more than adequate shelter.  The whole project took about 1.5 hours to complete. The most time consuming
portion was in reinforcing the plactic with the duct tape; this included both sides of the edge, the center line and the diagonals.  By adding the diagonal reinforcement, it seemed logical that this would reduce the stress of the plastic when putting on a load when staking and tying down.  In addition I decided to use duct-tape straps instead of grommets on the tie ends.   The hexagonal shape provides excellent coverage and the whole tarp weighs about 22 ounces.  The entire tarp rolls up to approximately 5.25" X 7". With the cost of sil-nylon tarps and the like, this really is a remarkable and cost effective alternative that won't let you down.  While the durability is yet to be determined, I can't think of a reason why this tarp wouldn't find a place in my pack on every overnight outing going forward. By the way, this was the first overnight with a hammock  Besides not having to sleep on the ground, there are definitely some pluses in selecting this type of sleep system.  I need to spend additional nights trying to optimize this method, so it may be awhile before I post my thoughts.  On the other hand, the DIY tarp and hammock combo complimented each other very well.  ~Keep it Sharp.